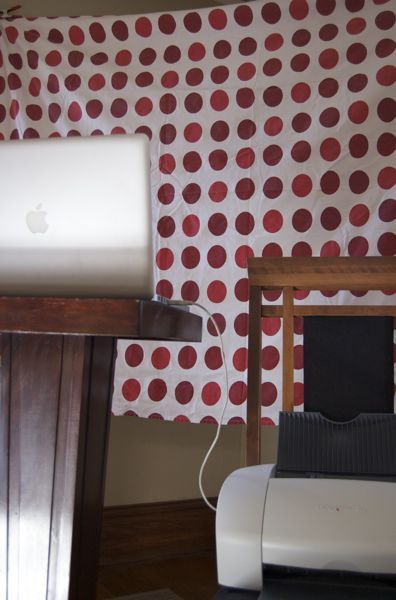
If you have a computer and a printer, then you also have a DIY photo booth just waiting awesome-ize the next birthday party, wedding, or celebration you attend. In this post, I’ll show you how to create your own photo booth software that you can use at your next party. Some people think photo booths are lame or cheesy; I assure you, they are not. They’re a ton of fun, help guests get to know each other, and make guestbooks great.
Some friends of ours just got married (read about our DIY wedding gift for them here), and I wanted to set up a photo booth for their reception. It had to be easy (no work involved for the guests), print automatically, and take a series of timed photos in sequence.
A little Googling turns up a lot of similar, but slightly unsatisfactory (for various reasons) solutions. To save you the hassle of wading through the internets in search of the one true DIY photo booth that will just work, I’m sharing mine with you here (see below for download/instructions).
What I came up with is an Automator workflow (read more) that makes the whole process seamless.
Note: The software only works on Mac OS X computers. The approach will still apply to Windows or Linux machines, but you’ll need to search for the appropriate software.
Update (2/16/2016): The Automator action has been updated to work with OS X 11.1.
Just want the download? Click here to skip the details and get to the goods.
When you run the software, it:
- Prompts the guest to enter their name
- Creates a folder specific to that guest
- Snaps three photos using the computer’s built-in camera
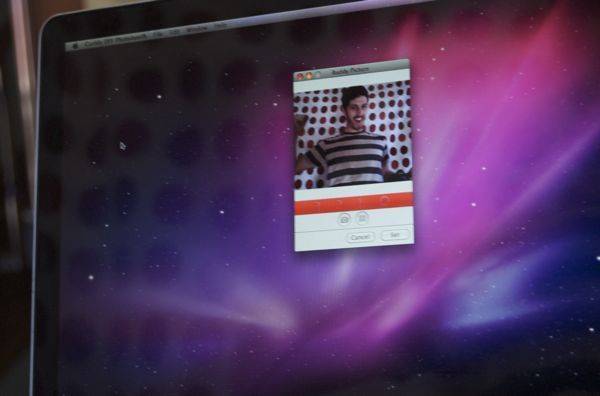
- Saves the photos to the guest’s folder (individually)
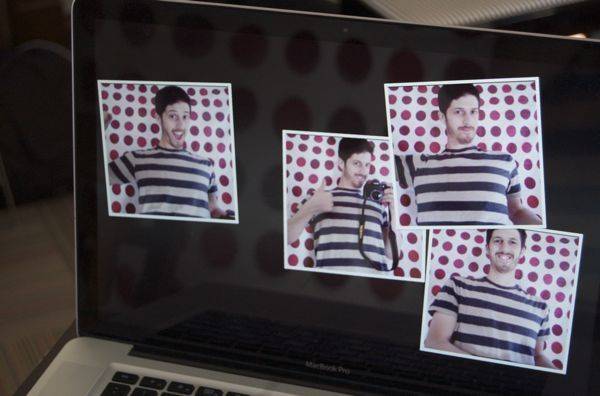
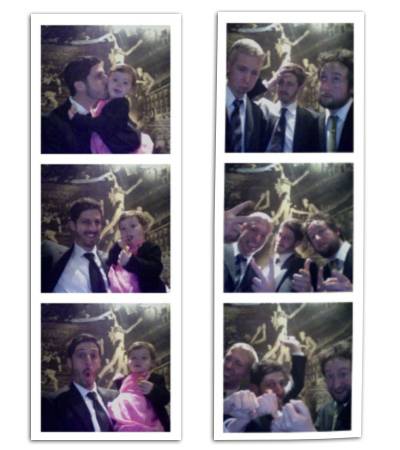
- Combines the three photos into a vertical strip

- Prints the strip
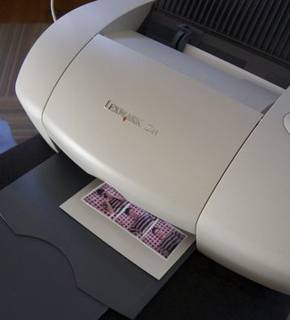
- Sleeps the computer, using the pictures taken so far as the screensaver
Here are some examples from the wedding:
You can download the entire Automator workflow using the link below.
If you end up using this for a party of your own, please let us know in the comments (and include some pics!).
Enjoy!
Download:
Requirements:
– A Mac running OS X 10.10 or later, with a built-in or USB iSight camera
– A standard ink-jet printer and sheets of 4×6 photo paper
(This project is open source. See more at GitHub)
Ultimate Photo Booth Props Collection
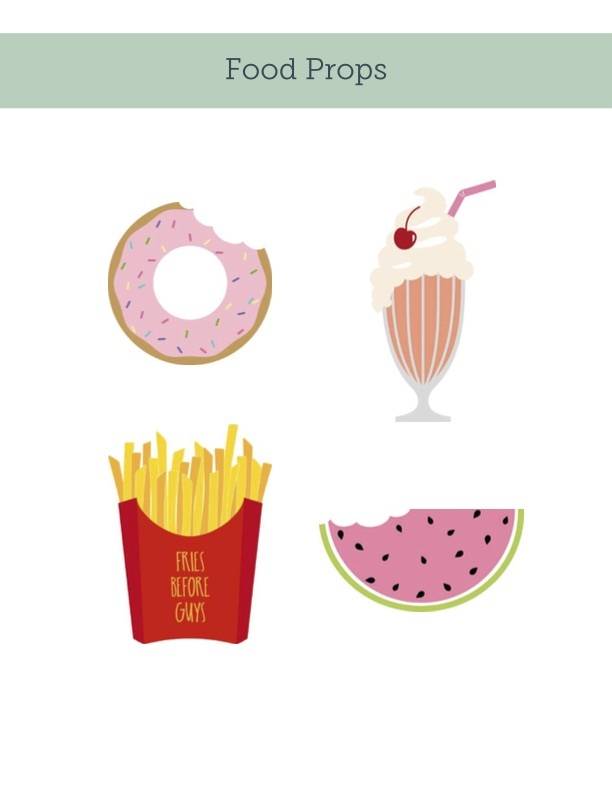
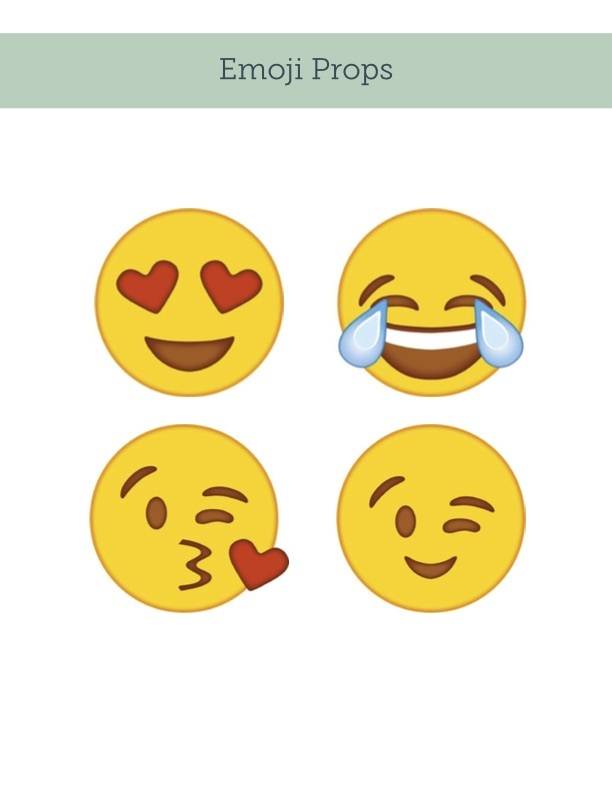
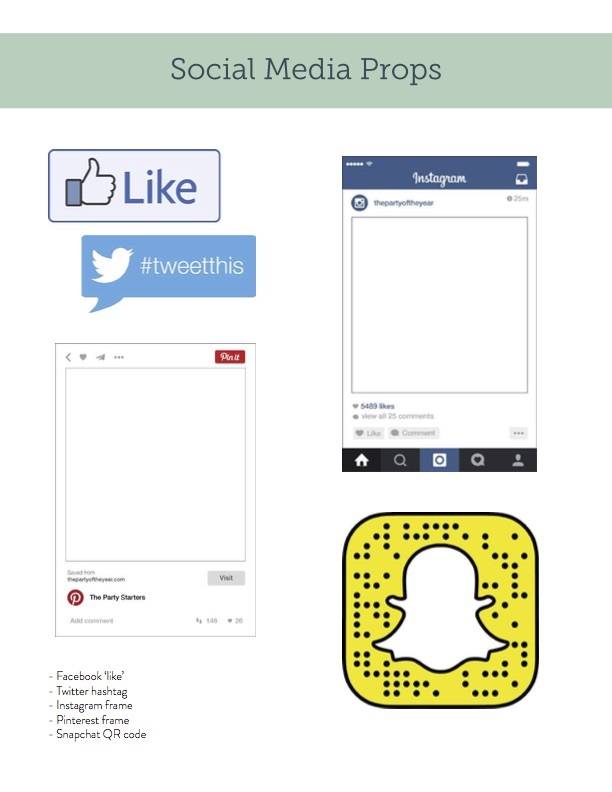
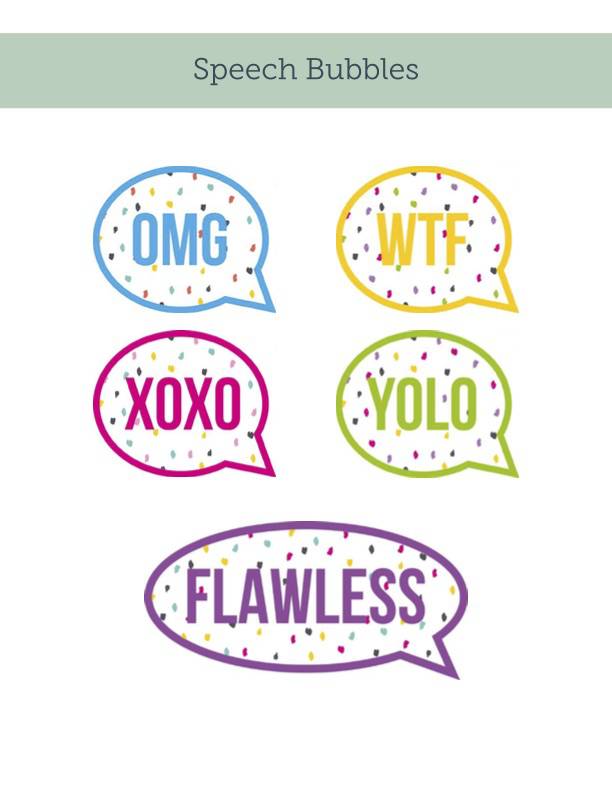
For just $9.99, you’ll get 30 ready-to-print photobooth props, including:
- Food
- Emojis
- Social media frames
- LOL speech bubbles
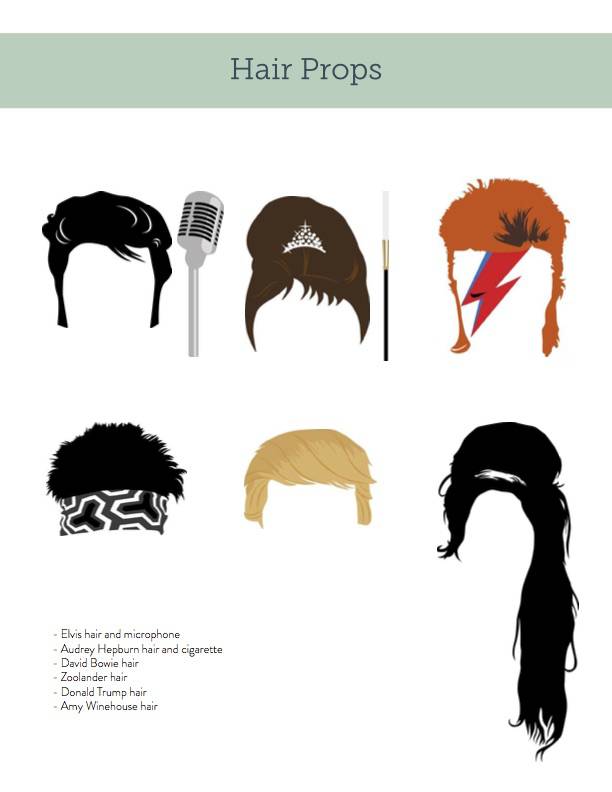
- Crazy hair styles
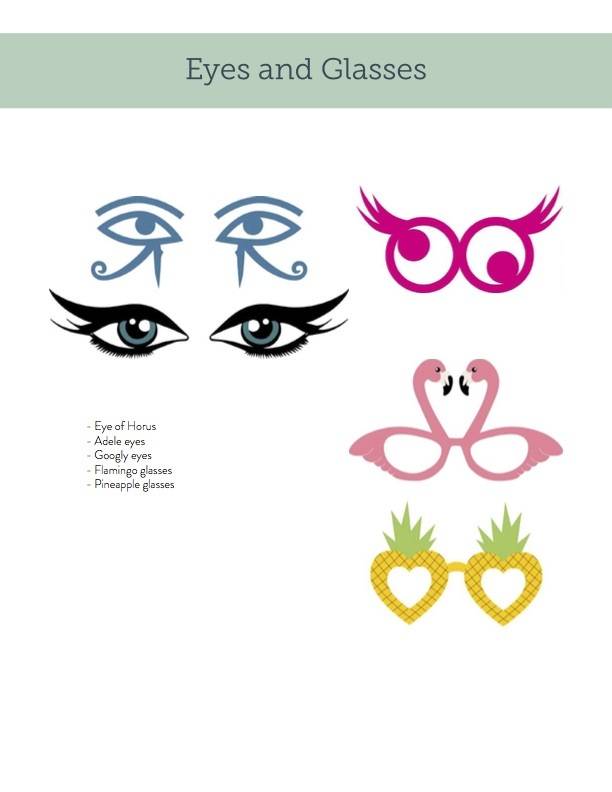
- Funny eyes and glasses