Wanted to put this together as I just succeeded in doing this and I didn’t see a specific setup listed here. This is just what worked for me, so don’t take it as the definitive guide.
If done successfully, you can simply clone over your existing files and configuration without needing to do a clean install.
SSDs, especially NVMe M.2 drives are a huge leap above traditional microSD cards. Big boost in read/write speeds, but also IOPS. Can make a lot of applications much more snappy
I assume you have a functioning RPi4 that’s running nicely off of a microSD card.
I also assume you have a separate laptop/desktop running WIndows or Linux with storage>> microSD card and a means to connect the microSD and the SSD USB adapter
Acquire:
- A decent NVMe M.2 stick for your budget. I got a Samsung 970 EVO Plus NVMe M.2 drive for $70, which at the moment is the fastest listed on https://storage.jamesachambers.com/fastest/. Any decent card should be a big boost, so do the math and take your pick.
-
A GOOD NVMe M.2 USB adapter. The RPi4 is quirky so WHO KNOWS if something allegedly compatible works. I got this:https://www.amazon.com/gp/product/B07NPFV21K/ref=ppx_yo_dt_b_asin_title_o01_s00?ie=UTF8&psc=1
“UGREEN M.2 NVMe SSD Enclosure, USB C 3.1 Gen 2 to M-Key M&B-Key NVMe PCIe 10Gbps External Enclosure Thunderbolt 3 Compatible with MacBook Pro, WD, Samsung, Toshiba, 2230/2242/2260/2280 NVMe PCIe SSD” model number 60354. They make a number of SSD enclosures that look almost identical, so that’s why I give you the exact model number. - A USB cable (if needed). That specific enclosure comes with a USB type-C to type-C cable that won’t work with the Pi. You want a GOOD cable, else the drive could be janky and give you junky performance. I had one cable that powered the drive but wasn’t recognized, another recognized the drive but it only wrote and read at 32 MB/s.
Smart Idea:
- Make sure everything is up to date, rpi-eeprom etc, make a backup of your SDcard system with dietpi-backup
Install:
- Install the stick in the enclosure
- (Optional) Verify the drive works well. Connect to your RPi4 running and booted off of the SD card. Drive should be visible in dietpi-drive_manager. Mount the drive, format the drive, then run benchmarks with dietpi-config just to make sure everything is playing nicely. You don’t have to do this, but then if something is screwed up you may be backtracking here.
- Copy over the system files: Power down the Pi. Pop out the microSD card, connect to another computer (I used alaptop running Windows and clone the microSD card as an .img on another computer. I used Win32 Disk Imager to create the .img, then connected the SSD to my other computer and flashed the .img using Balena Etcher. I got errors the first two times but succeeded without errors the third time.
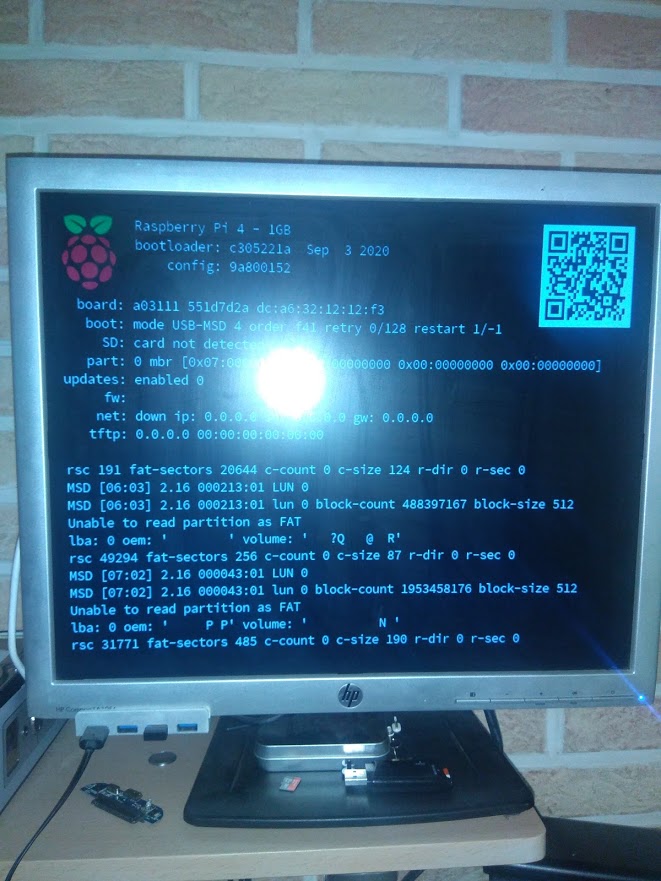
- Plug the SSD into the pi and boot without a microSD card. If all went well the system should boot basically just the same.
- (Optional) Resize the drive. After flashing a 32GB microSD card, the 256GB nvme stick was only recognized as a 32GB partition. Open dietpi-drive_manager and select the partion and resize it. dietpi-drive_manager hung for what felt like a few minutes the first time.
- Benchmark and enjoy.
Notes: I moved from a smaller microSD to a larger SSD. Cloning won’t work moving from a larger microSD to a smaller SSD even if the actual space used is less than the SSD capacity. Same microSD to same SSD size still might give errors if the SSD is even a few bits smaller. I fooled around trying to do a fresh install on the SSD and then use dietpi-backup to try to restore the backup made from my microSD onto my SSD but was unsuccessful. Bright ideas to do this more cleanly would be appreciated.
read 12 min


 .
. .
.